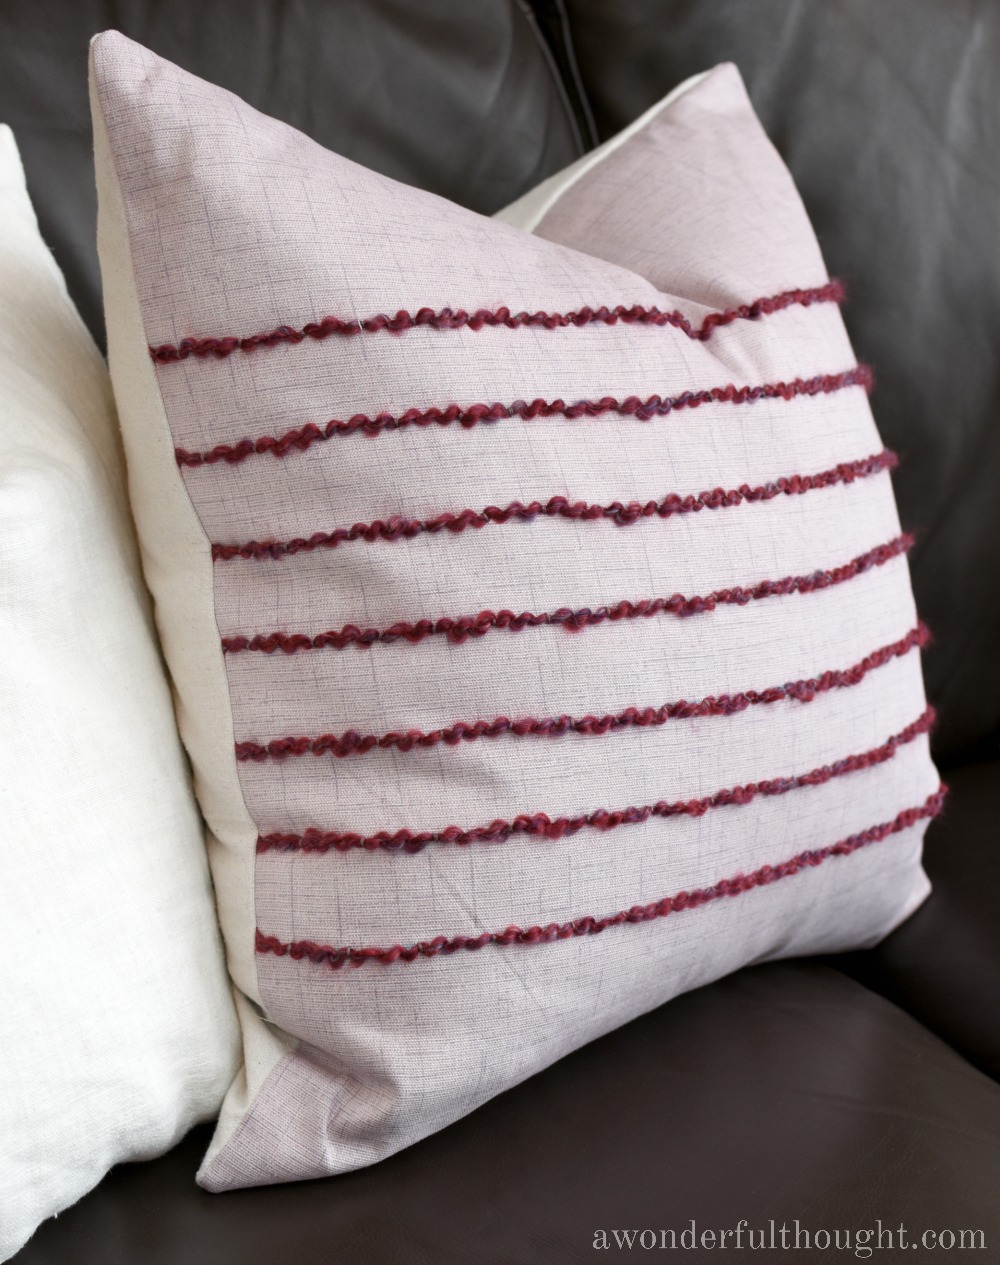
It is funny where inspiration comes from sometimes. Have you ever been walking around a store and see something and think to yourself, “I could sooooooo make that!” Well, that is what happened to me the other day at Target. I saw this pillow and instantly knew that I was going to recreate it. Funny thing was though that when I saw it, it was turned sideways so the stripes were horizontal. When I looked it up online and they were vertical, I was like that is not right! Well evidently it is. 🙂
I had already bought some fabric to make pillows to match with my purple spring mantel but I was planning on just making them plain. When I saw the yarn on the Target pillow, I loved the idea that I could easily add texture to a DIY pillow. The yarn just gives it a little something extra. I was pretty sure that I had some yarn on hand that would work and it did work….perfectly! I couldn’t have bought a better color for what I wanted. I love how the yarn on the Target pillow is multicolored and a little thicker but mine worked so well for the color I wanted that I just used it. Plus it was free since I already had it! That is a no brainer!
*There are links to products in this post that I use or are similar to products I use. If you buy something from one of these links, I may make a small commission (with no additional cost to you) from the purchase. I will not recommend anything that I would not buy myself. Thank you for supporting my blog!
For this project you will need:
- Yarn
- Fabric – I got my purple fabric at Walmart and used a drop cloth for the back of my pillow
- Embroidery thread & needle
- 14”(inch) zipper
- Sewing machine (this is a newer version of the one I use)
- Thread
- Pins
- Cutting mat, rotary cutter and 24″ ruler – this is optional, you can just use scissors to cut your fabric but this makes cutting fabric so much easier!
- Pinking shears
- Scissors
- Iron
- Pillow Insert
- Mark B Gone Pen
Cut your fabrics into 20×20” squares. Next cut 7 pieces of yarn about 24” long. On your front panel of fabric, lay out the pieces of yarn how you want them to be on the pillow. I used the measurements on my cutting mat to find where the center piece of yarn should go and then measured out each piece of yarn 1.5” apart. In retrospect, I think it would have been closer to the original pillow at 1” apart. Oh well, I still love how it turned out. 🙂
Using your 24” ruler and the Mark B Gone pen, draw a dashed line where the pieces of yarn were. This is what you will use as a guide to sew the yarn on. Start on one edge of the fabric and stitch the yarn on, of course tying knots at the ends. I made my stitches about 1 inch apart but was not too particular about it as you can see from the back of the fabric. No one will see that anyway so it does not have to look great. 😉
Just make sure you follow the lines you drew so that your stripes appear straight. After you get the yarn sewn on, you can remove the blue lines with water if you need to. That is the beauty of the Mark B Gone pen. Mine were actually covered pretty well so I didn’t even bother. However after seeing some of these pictures there are a couple places that I see where I need to remove some blue lines. 🙂 Here is what the front and back of mine looked like when all the yarn was stitched on. As you can see my lines in the back don’t look straight but they do in the front! That is all that matters.
Using the same method as my easy zippered pillow tutorial, I sewed a zipper onto this pillow and sewed it together. Do not cut the yarn before you sew it, leave the yarn hanging out from between the two panels when you sew like this. Sewing them down on each end will help to firmly secure the yarn in place.
After your pillow cover is sewn together, clip the corners and cut along the edges with pinking shears to prevent fraying. Make sure you don’t cut your knots off though just in case. However the sewing lines should hold the thread anyway but I thought better to be safe.
I love how such a small addition helps to dress up the pillow so much. You could also easily do this with ribbon too. This yarn almost reminds me of Ric Rac ribbon on the pillow. I recently made a DIY Woven Heart Pillow for Valentine’s Day that I also used yarn on for texture. I am loving pillows with texture lately. It is fun to feel the texture of them as well as see it.
And…it goes so well with my spring mantel! Here is a sneak peek! 🙂

I will be back soon to share my Spring mantel in full as well as some other fun projects. Have a wonderful day!!


Great tutorial on embellishing pillows~ Lovin that beaded spring banner too! Welcome to the Merry Monday group! Sharing on Twitter.
Kim
Thanks Kim! 🙂
Cute pillow. I like how you made the stripes vertical. It makes sense.
Thanks! I thought it looked better this way too. The nice thing about this pillow though is that you can do it either way. 🙂
Thanks for sharing at the #HomeMattersParty! Great pillow tutorial!
Thanks Lynn!